MixColors 4.0 just landed! New Design, Extract colors from image, Naming, Collections, more!

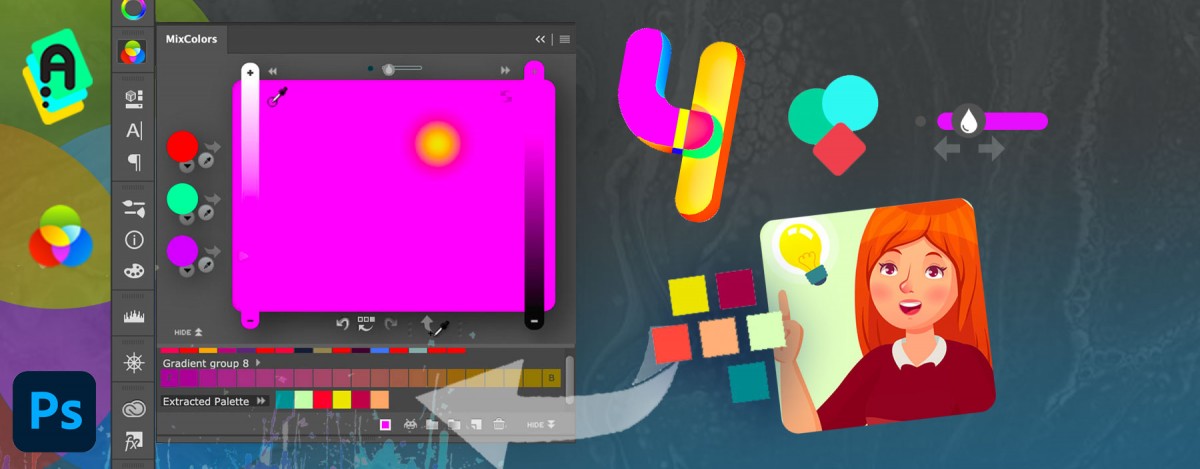
MixColors 4.0 has a brand new look! Also: Extract Colors from Image in 1 click, Collections of Groups, Color Auto Naming, Change Mixing Amount, faster, more awesome.
Upgrade early with a discount.

WHAT’S NEW:
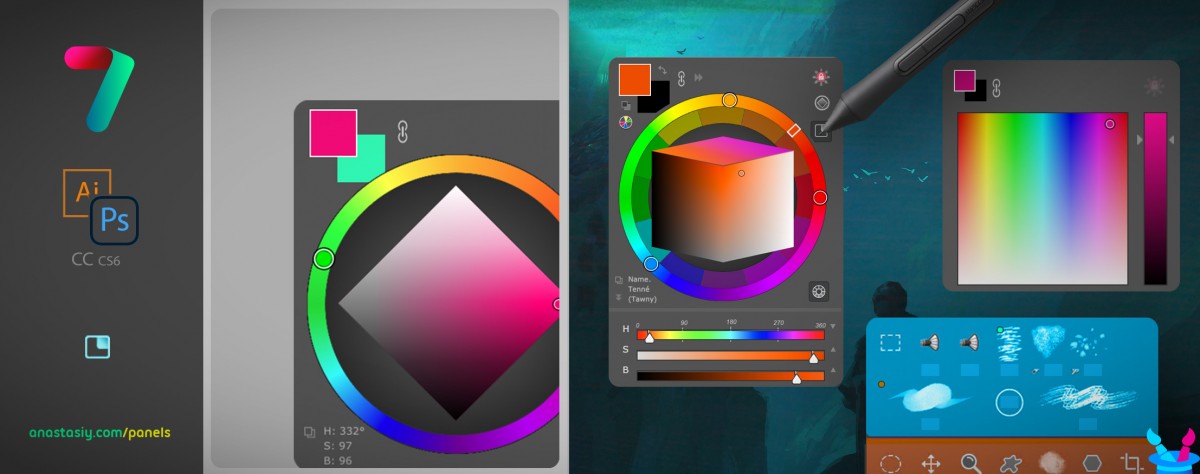
– NEW LOOK! MixColors is redesigned to attenuate current color and accent mixing
– Fine-tune the default mixing amount/paint load using new slider
– Extract color palette from any image. Just click a new button on the toolbar and specify number of colors.
– Auto-assigns human readable color names to swatches (if set in Settings)
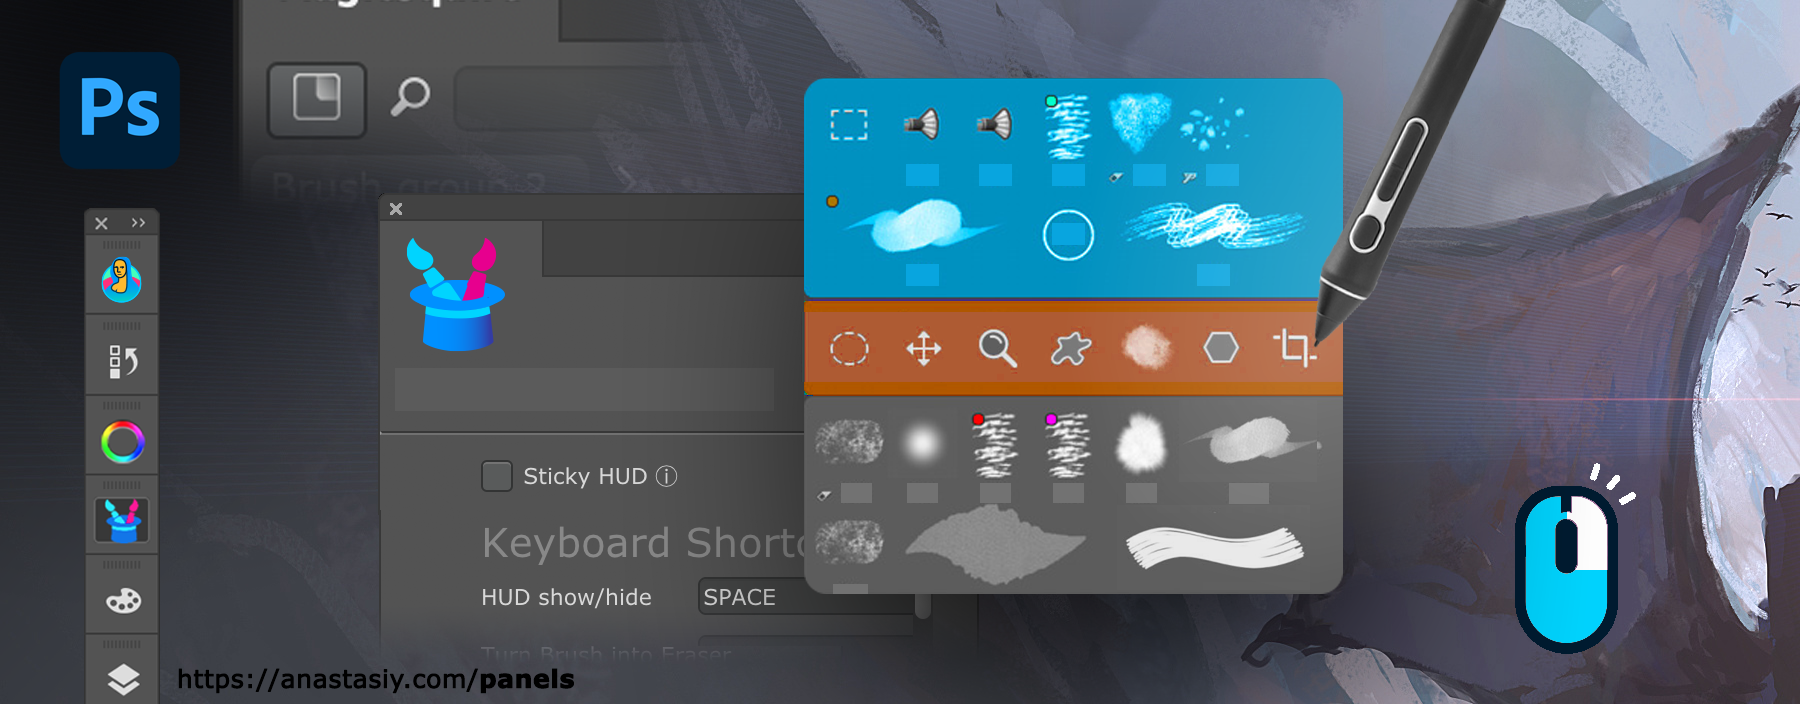
– Assign Keyboard Shortcuts to individual swatches! (Right-click on swatch)
– Collections: Combine several groups of colors in a collection and then switch
– Saves/loads swatches to your drive. Can be backed up and synced to any Cloud
– Color history is never lost! Now saved to Settings and restored when it’s re-opened
– Clear Color History by clicking a new button
– Mix Colors of the vector shapes! (Menu -> Colorize Shapes & Text)
– Localization: Chinese, Spanish
– Supports Photoshop 2021+, 2020, CC 2019, CC 2018, CC 2017, CC 2015, CC 2014, CS6, CC
– More than 23+ new features and improvements

Tip#106: Bring multiple objects to same palette with MagicTints

Select multiple layers

Select multiple pixel layers and then click “Apply” on MagicTints panel. That’s it! MagicTints will bring all selected objects to the same palette, from the Color Reference list. All at once.

  • You can choose specific colors or use any image as a target color reference. Works very accurately, transfers colors and contrast immediately.
  • You can also assign Keyboard Shortcut to that operation

Works in Photoshop, Illustrator, InDesign.

Or you can export LUT and use on any photo video in Affinity Photo, Lightroom, Premiere Pro, AfterEffects, Final Cut or even in 3D software like Unity, Blender or Unreal Engine.

MagicTints is also available as a standalone app on macOS or Windows.

From series of tutorials for MagicTints, 1-click accurate color matching

Tip#105: What is HUD?

In HUD mode the Photoshop panel shows up under your cursor whenever you click a keyboard shortcut. (Or press the HUD button on the panel). button_HUD_light@2x Staying hidden when you don’t need it – saving your valuable screen real estate.

The HUD mode is new to MagicPicker 7 and MagicSquire 4.

Ways to activate Brush HUD popup under cursor in Photoshop
MagicSquire Brush Manager in HUD mode

All the features of the panels are available in this mode. Also if you experience problems with Wacom stylus in Photoshop then HUD will fix all those problems.

All power of MagicPicker color wheel, including color schemes, color tone lock, K-lock, various modes of the wheel are available in this mode. Unlike Photoshop’s native limited HUD the MagicPicker is fully featured.

MagicSquire also supports this mode, making all your brushes available under cursor.

You can also use it in “Sticky” mode when you press a button to show the HUD and release it to hide. You can also bind it to your stylus button.

Here are the ways to activate HUD.

From series of tutorials for MagicPicker, the pro Photoshop color wheel and MagicSquire, advanced Photoshop brush manager