Photoshop CC 2024 has updated and we have too! Please use new versions if you’re on new Adobe Creative Cloud 2024 and have activation problems, it says your activation data is invalid, or the panel is blank, color wheel doesn’t work etc.
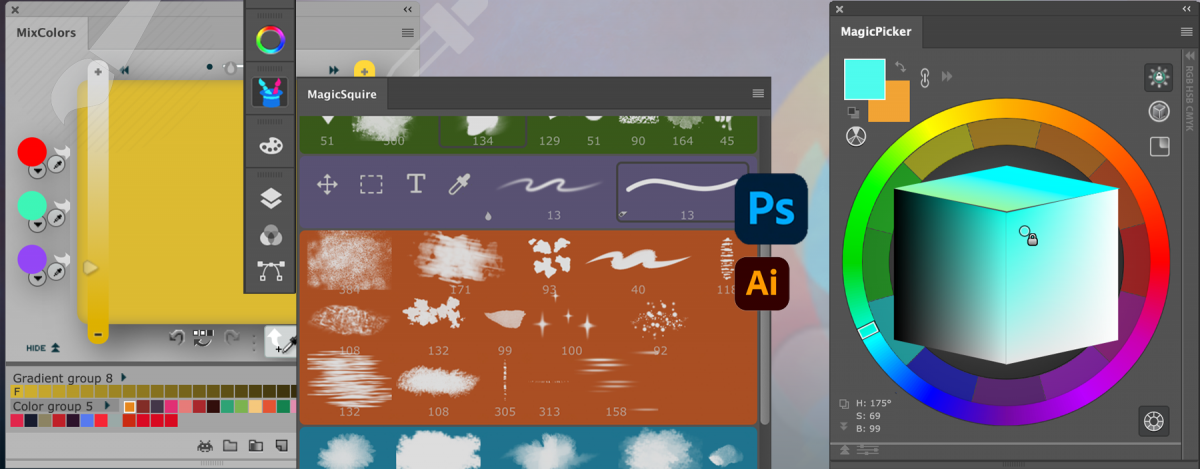
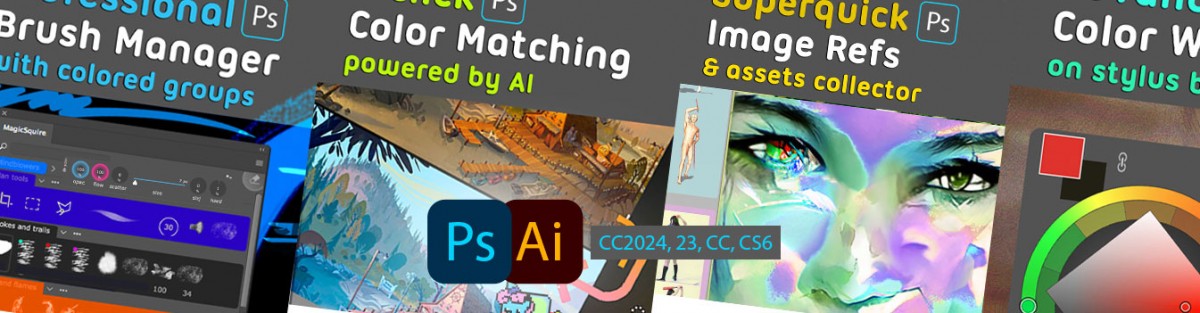
New MagicSquire 7.4-Organize brushes in colorful groups with tags, now with HUD popup and granular brush controls)
Upgrade MagicSquire to v7.4
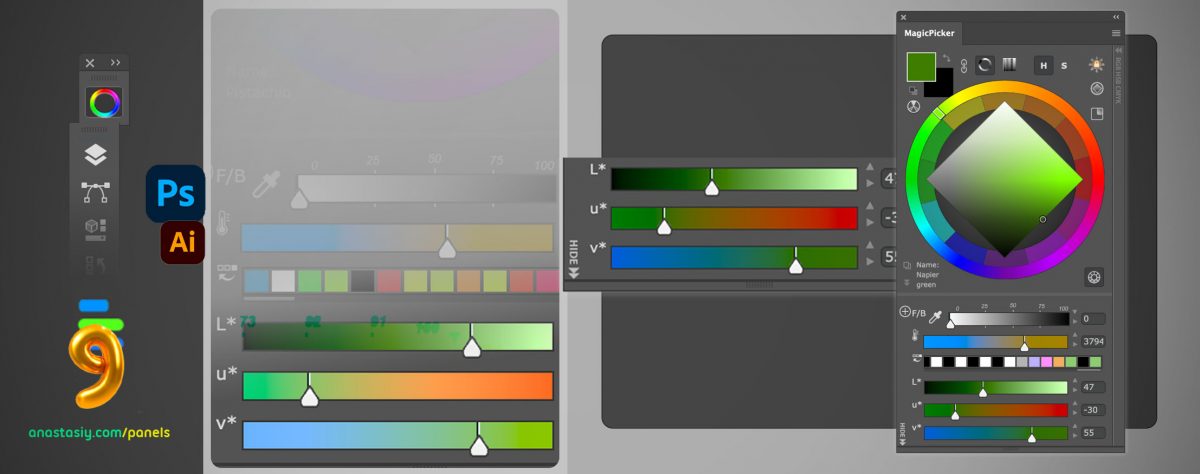
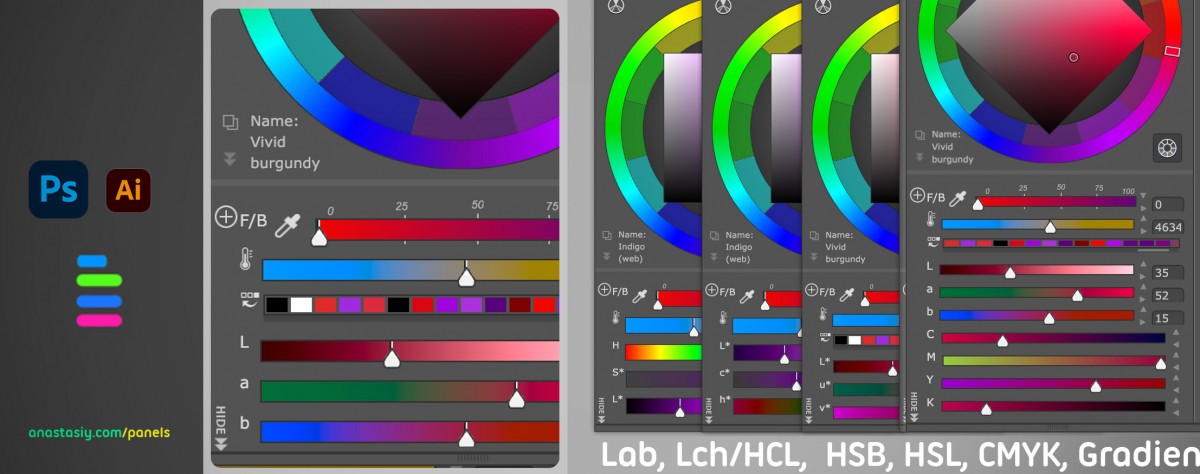
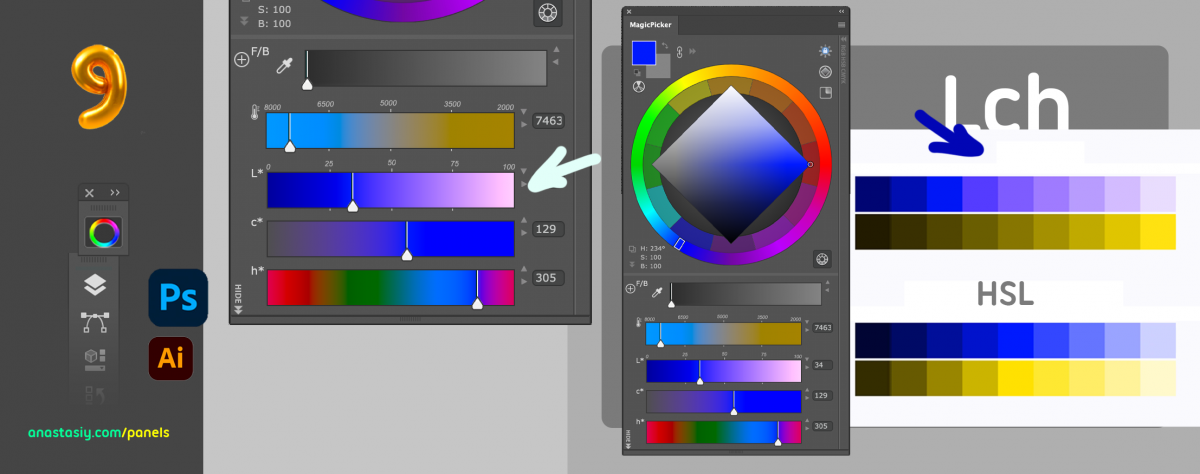
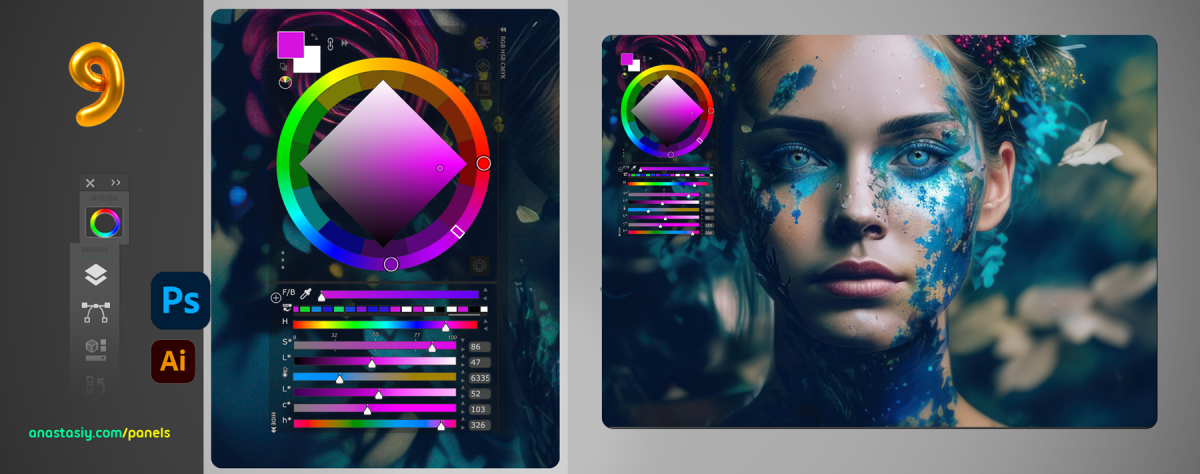
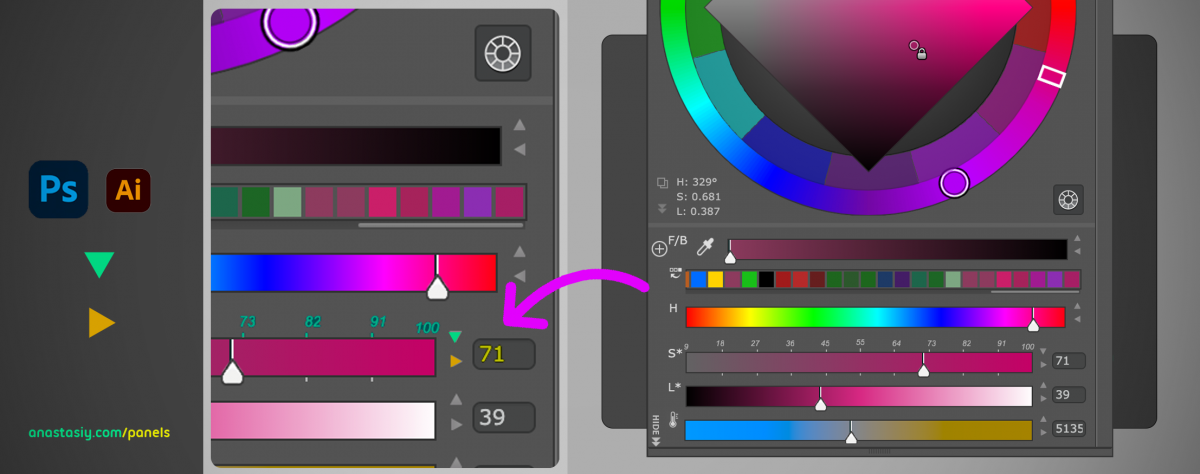
New MagicPicker 9.3 -Professional color wheel HUD, now with Munsell support and a lot of new features and improvements:
Upgrade to MagicPicker v9.3
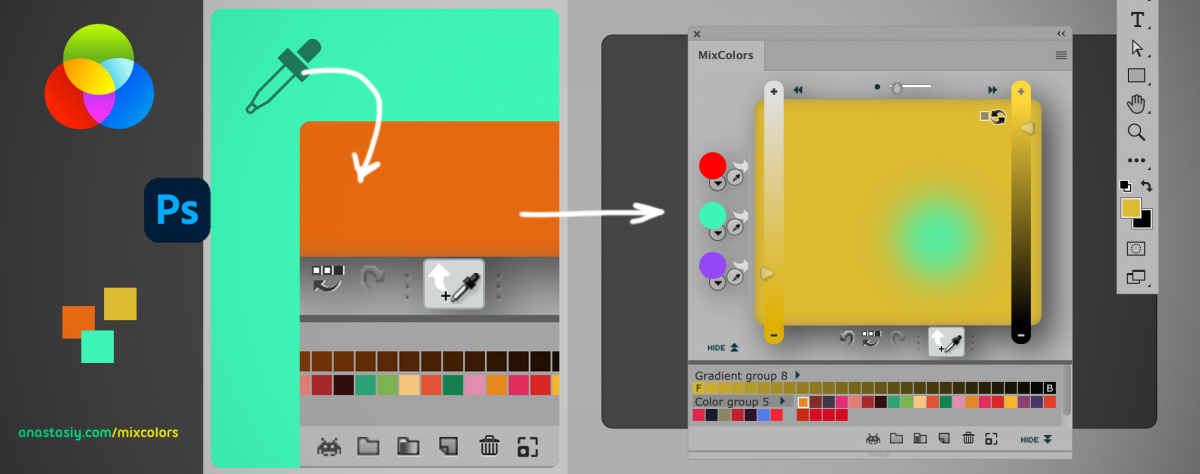
New MixColors 5.4 -Enhance your painting skills with color mixing and color swatch managing
Upgrade to MixColors to v5.4
New MagicTints 3.5 -1-click AI & Machine Learning granular color matching in Adobe® Photoshop, Illustrator, InDesign
Upgrade to MagicTints to v3.5
New MagicRefs 2.4 -Tag, search and collect images locally in Photoshop, also Rotate, Resize and Collage and use as references:
Upgrade to MagicRefs to v2.4
INSTALL WITH latest Anastasiy’s Extension Manager 4 for Adobe Creative Cloud (officially recommended by Adobe)