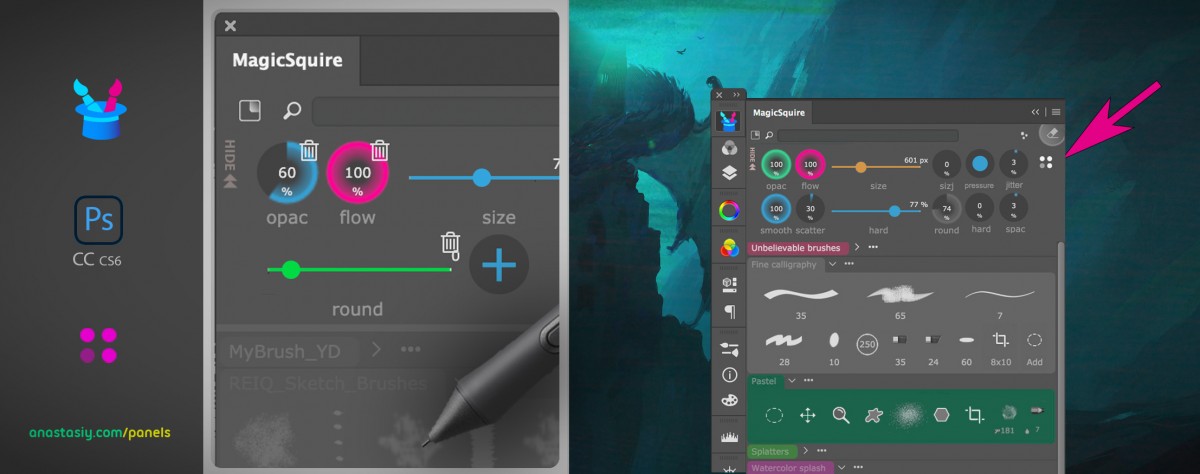
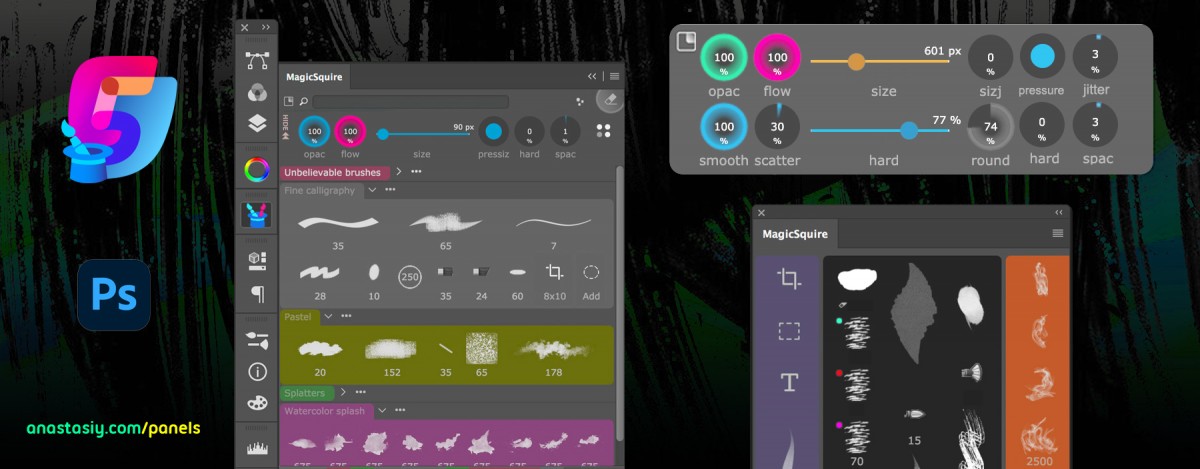
Tip#111: Hide/Show new Photoshop Brush Controls in MagicSquire

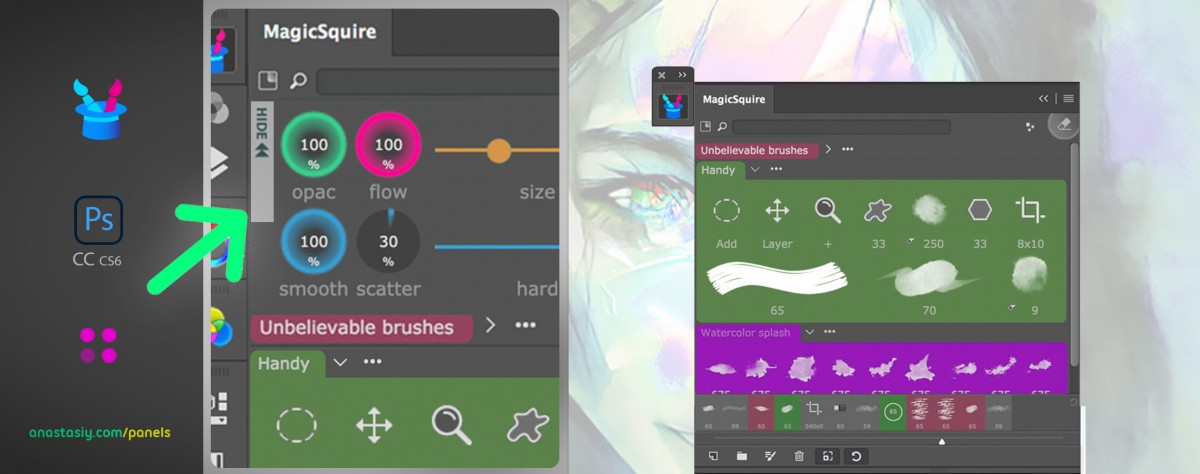
🧙️ Hide Brush Controls on MagicSquire panel in #Photoshop by clicking the button titled “Hide” on the top left of the panel.

This works great if you only need to organize and access 🟡💜🟩 groups of brushes/tools.

Re-display Brush Controls by clicking the 🎛️ “Show Brush Controls” button on the top.

From series of tutorials for MagicSquire, the pro manager with colored groups for Photoshop brushes

Last days of 🌞 GREAT WINTER SALE, discounts up to -60%

Limited time discounts at anastasiy.com! Get all panels in discounted bundles or
Color Wheel with advanced color spaces and sliders designed for digital art
Upgrade MagicPicker with a discount

Get MagicTints 2
Standalone fast GPU AI color matching between images, generates LUT, Windows & macOS Desktop, also Adobe® Photoshop plugin
Upgrade MagicTints with a discount
Quick Brush HUD, lets organize brushes in colorful groups, controls Photoshop brush values
Upgrade MagicSquire with a discount
Extracts palette from image, groups Photoshop swatches in compact folders, mixes colors
Upgrade MixColors with a discount
Fast handling of Reference Images (image assets) in Adobe® Photoshop
Upgrade MagicRefs with a discount
Preview fonts before installing them

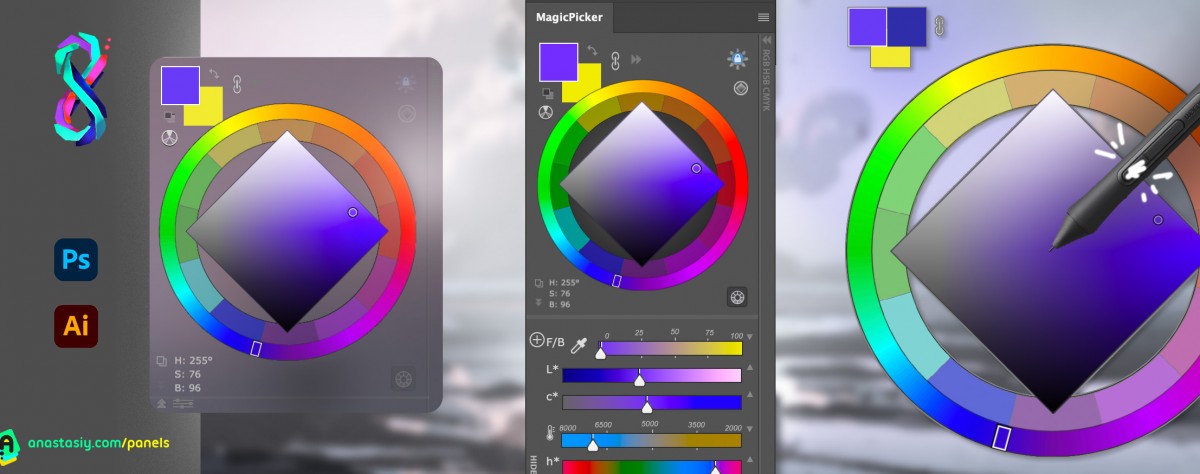
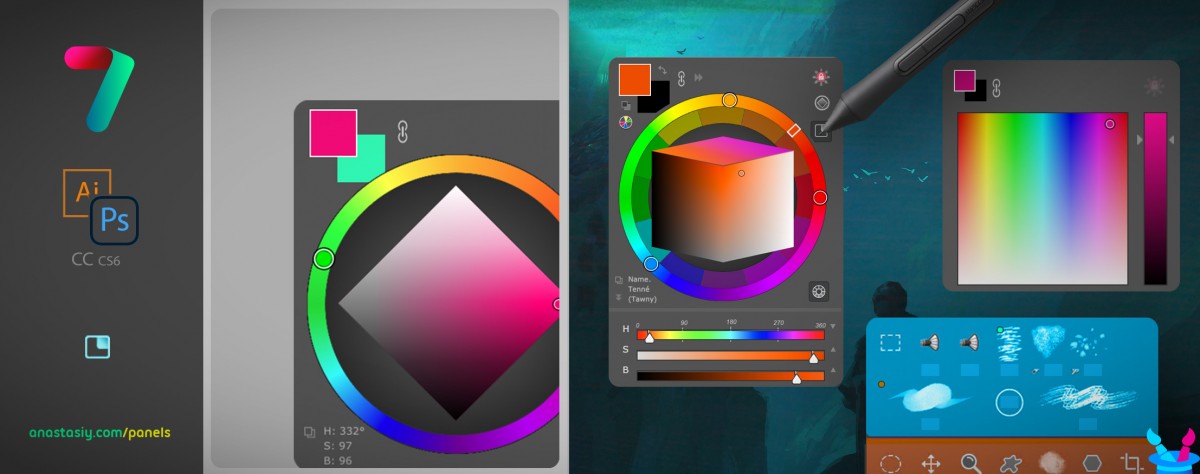
Tip#110: Using MagicPicker Transparent and Crystal HUD modes

Use new MagicPicker’s 🧿Crystal HUD mode or see your fantastic artwork through transparent panel.

  1. Change HUD Opacity in Settings or
  2. Enable background Blur
  3. Adjust HUD transparency 0-100
  4. Quickly call HUD with a shortcut
  5. Resize HUD the way need

From series of tutorials for MagicPicker, advanced Photoshop color wheel panel

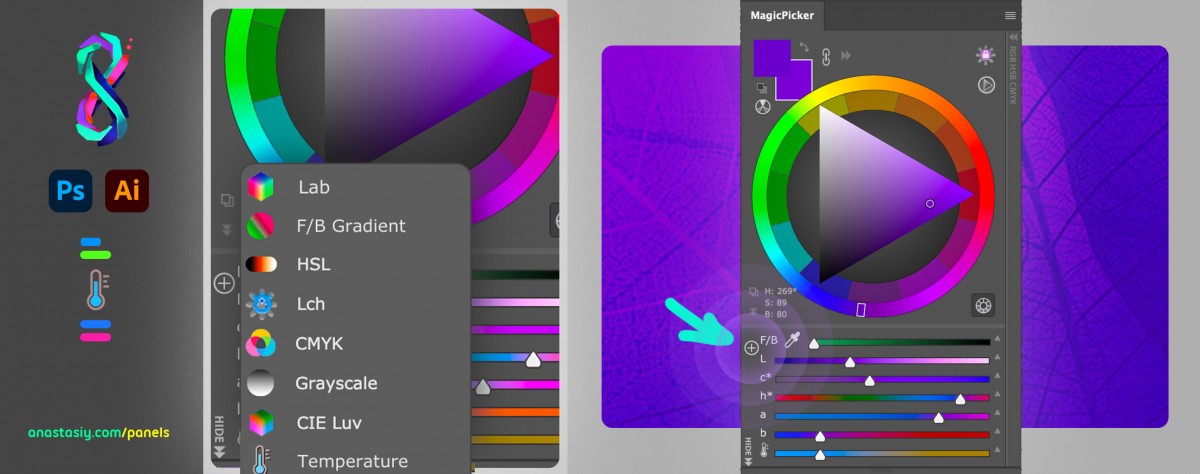
Tip#109: Use new combinations of color spaces and sliders in MagicPicker

In MagicPicker 8 you can add any combination of any color spaces under the color wheel. These color spaces are added in the form of sliders that you can interact with and adjust colors.

Have HSB/CMYK/Lab combination, or HRB combination, or use new L*c*h color space that allows you to keep Hue in the same perceived brightness (same way as Tone Lock works). etc!

1) Click on the “Add Color Space” “+” button near sliders on the bottom
2) Choose any color space to add: Lab, F/B Gradient, HSL, L*c*h, CMYK, Grayscale, CIE Luv, HSB, RGB, Temperature
3) After adding color sliders you can remove any of them by dragging by its label
4) Rearrange sliders by dragging

Black Friday / Cyber Monday 2021 discounts on all panels

#BlackFriday discounts are up! 💝 get 60% off on MagicPicker 8 Color Wheel 🔮 Crystal HUD, MagicTints 2 GPU Color Matcher, MagicSquire 5 Brush Control and other #Photoshop & #Illustrator panels.

Limited time discounts: 

https://anastasiy.com/blackfriday

MagicPicker 8 color wheel (35% off)
MagicTints, 2.4 1-click color matcher (50% off)
MagicSquire 5, professional brush manager (30% off)
MixColors 4, color mixer (30% off)

MagicRefs 2, reference manager (30% off)
DiskFonts 1.2, font manager (30% off)

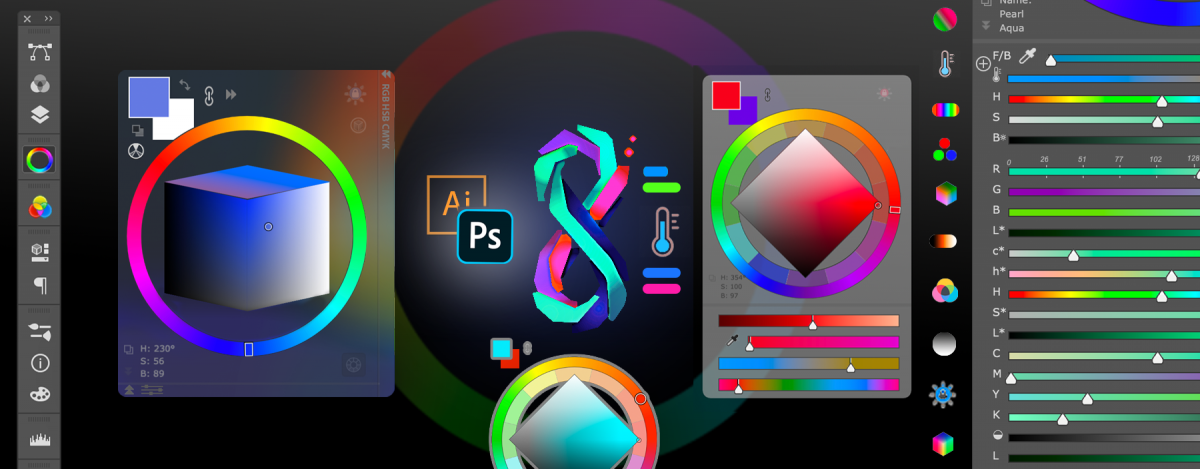
MagicPicker 8 is here with Lab, L*c*h, HSL, Temperature Sliders, TRANSPARENT HUD

Featuring the  early upgrade bonus, see below!

Transparent HUD! OMG. Variable opacity. On/off Background Blurred Glass effect. Sliders Revolution! 10 NEW Color Spaces designed for artists, with Sliders under Color Wheel: Lab, L*c*h, Temperature, HSL, Gradient Blend, CMYK, CIE Luv, Grayscale, HSB, RGB. Pick colors. Arrange like you want! Drag, remove. Full CC 2022 support. More features, faster UI!

WHAT’S NEW in MagicPicker version 8.0:

* Full support of new Adobe Photoshop & Illustrator 2022, including Keyboard Shortcuts
* Graphics Framework improvements – UI now faster in scaling, resizing, animation, redraw etc
* HUD is faster
* Improved styling of UI, added small touches here and there
* Now works much better and updates better when working with subtle colors (hues/saturation around 2-3%)

  • NEW! TRANSPARENT HUD – a new see-through experience! Change from Settings
    – MagicPicker HUD now can be fully transparent so you could see where you’re working at
    – Have only color wheel/color picker visible
    – Transparency can be set in Settings from 0 to 100
    – Adjust Transparency dynamically
    – Activate Blur to blur background under panel
    – Supports PRO Mode so you could only have round color wheel visible on the screen
    – HUD is still resizeable in that state
    – Supports all features of MagicPicker including sliders, boxes, etc
    – Pops up under your cursor
  • NEW! Have main panel in Compact Mode and MagicPicker HUD on the screen at the same time. Two main colors always visible and HUD appears on-demand under your cursor
  • NEW! New fully cusomizable sliders in any combinations Supported:
    – HSB, * HSL – more natural shade between black/white/current color, * Lab, * Lch/HCL – finally a human perception based color sliders, that preserve lightness & saturation of hues * CMYK, * Color Temperature, * Gradient between Foreground/Background (Blend), * CIE L*u*v*, * Grayscale, * RGB
    – Add with a new + button on the left of sliders
    – Delete individual sliders – drag by label and then drop to a Trash can on the bottom
    – Keep single sliders and remove the others so you can have combinations like H,R,G,L or L*,S,B
    – Freely rearrange by grabbing and moving! Move sliders up or down quickly
    – All slider values are synced with your current color profile
    – New sliders are compatible with PRO Mode, K-Lock and Tone Lock!
    – Display exact values on mouse hover
    – All sliders are fully dynamic and update in realtime
    * Reset sliders – from the menu, to original combinations
  • NEW! Reset color schemes – from MagicPicker menu. Will reset secondary colors to default position
  • NEW! You asked for it!
    * On Windows in Keyboard Shortcuts Ctrl no longer required. Now allowing F1, F2 etc. keys
  • NEW! Illustrator: * Keyboard Shortcut to swap Fill/Stroke swatches on Illustrator (and Background/Foreground on Photoshop)

– Optimized to work with new Windows 11, macOS Big Sur, Monterey
– Improved memory handling, on some computers MagicPicker started to eat memory and slowed down after awhile, fixed that
– HUD round corners are back for all Windows users!
– Fixed a problem with setting vector shapes stroke colors on CC 2020, CC 2021 & CC 2022
– Improved assigning of keyboard shortcuts in varios scenarios
– Fixed problems with entering keyboard shortcuts in Adobe Illustrator in various scenarios
– MagicPicker now speaks more languages: Chinese, Spanish
– Fixed a rare problem on Adobe Illustrator where panel could stop updating its colors after some time
– Still supports Adobe CS4, CS5, CS5.5 and CS6 (also CC, CC2014, CC2015, CC2017, CC2019, 2020, 2021, 2022+)
– HUD Mode supports OpenGL and Metal GPU acceleration (if present) for transparency blur
– Transparent HUD optimized for better power management on laptops, Surface devices and MacBooks
– Transparent HUD optimized to run on older computers
– Fixed various minor UI problems
– All improvements implemented by real-life users’ feedback

Upgrade to MagicPicker 8 now and receive a limited-time early upgrade discount

Read more about MagicPicker, the most advanced and slick color wheel HUD/panel for Adobe Photoshop and Illustrator
Tip#108: Have a set of Photoshop Brush parameters under your fingertips with MagicSquire

You can now control your Photoshop Brush parameters with new interactive gauges and sliders. This gives you quick and direct access to brush parameters only crucial to your workflow.

Choose the parameters you need and arrange interactive Brush Controls on MagicSquire panel in #Photoshop.

Set colors, switch sliders/gauges.

  1. Simply click 🎛️ button
  2. Then grab, drag, delete or add with “+”
  3. Click the same 🎛️ button to exit edit mode
  4. Ready to rule your brush!

Now you will also have the same layout on the quick MagicSquire HUD popup under your cursor.

From series of tutorials for MagicSquire, advanced Photoshop brushes manager, now with Brush Controls!

Tip#107: Adjust MagicSquire the way you want

MagicSquire 5 is your ☃️ personal Brush Companion. Customize it the way you want!

Set up separate 🖌 Brush Controls as a quick right-click HUD popup or use as a part of the panel. Combine with PRO Mode.

  • Go to Settings and turn on HUD only controls Brush. After that you can set up keyboard shortcut to display HUD popup under your cursor where only Brush Controls are visible. If you turn it off you can display the whole panel in the HUD popup.

  • Turn on PRO Mode from MagicSquire menu

Now compatible with Photoshop 2022!

From series of tutorials for MagicSquire, advanced Photoshop brushes manager and brush control panel

Tip#106: Bring multiple objects to same palette with MagicTints

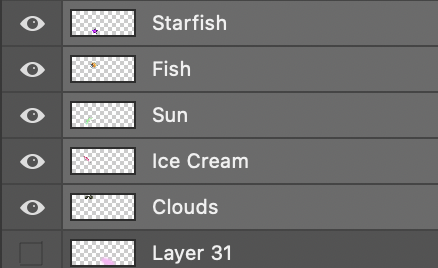
Select multiple layers

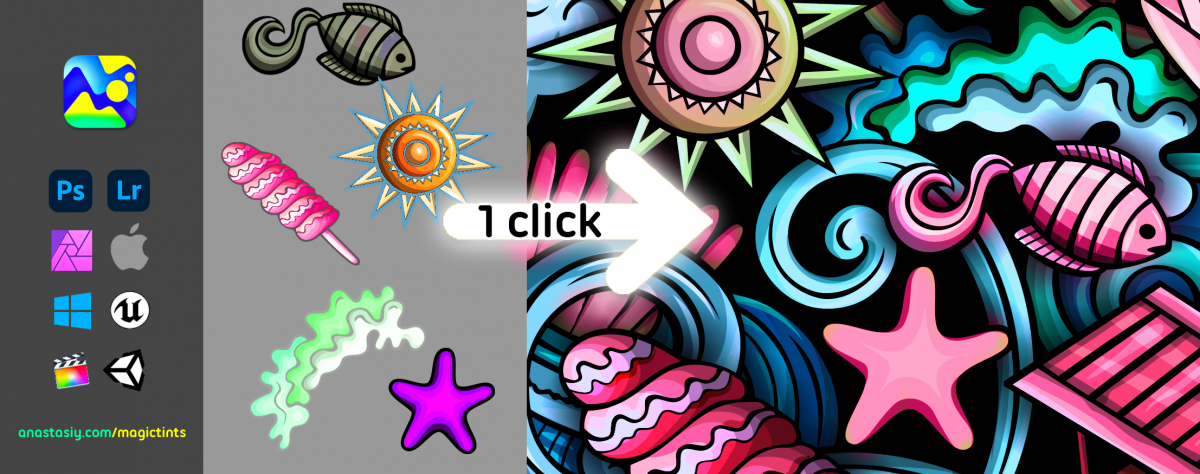
Select multiple pixel layers and then click “Apply” on MagicTints panel. That’s it! MagicTints will bring all selected objects to the same palette, from the Color Reference list. All at once.

  • You can choose specific colors or use any image as a target color reference. Works very accurately, transfers colors and contrast immediately.
  • You can also assign Keyboard Shortcut to that operation

Works in Photoshop, Illustrator, InDesign.

Or you can export LUT and use on any photo video in Affinity Photo, Lightroom, Premiere Pro, AfterEffects, Final Cut or even in 3D software like Unity, Blender or Unreal Engine.

MagicTints is also available as a standalone app on macOS or Windows.

From series of tutorials for MagicTints, 1-click accurate color matching

Tip#105: What is HUD?

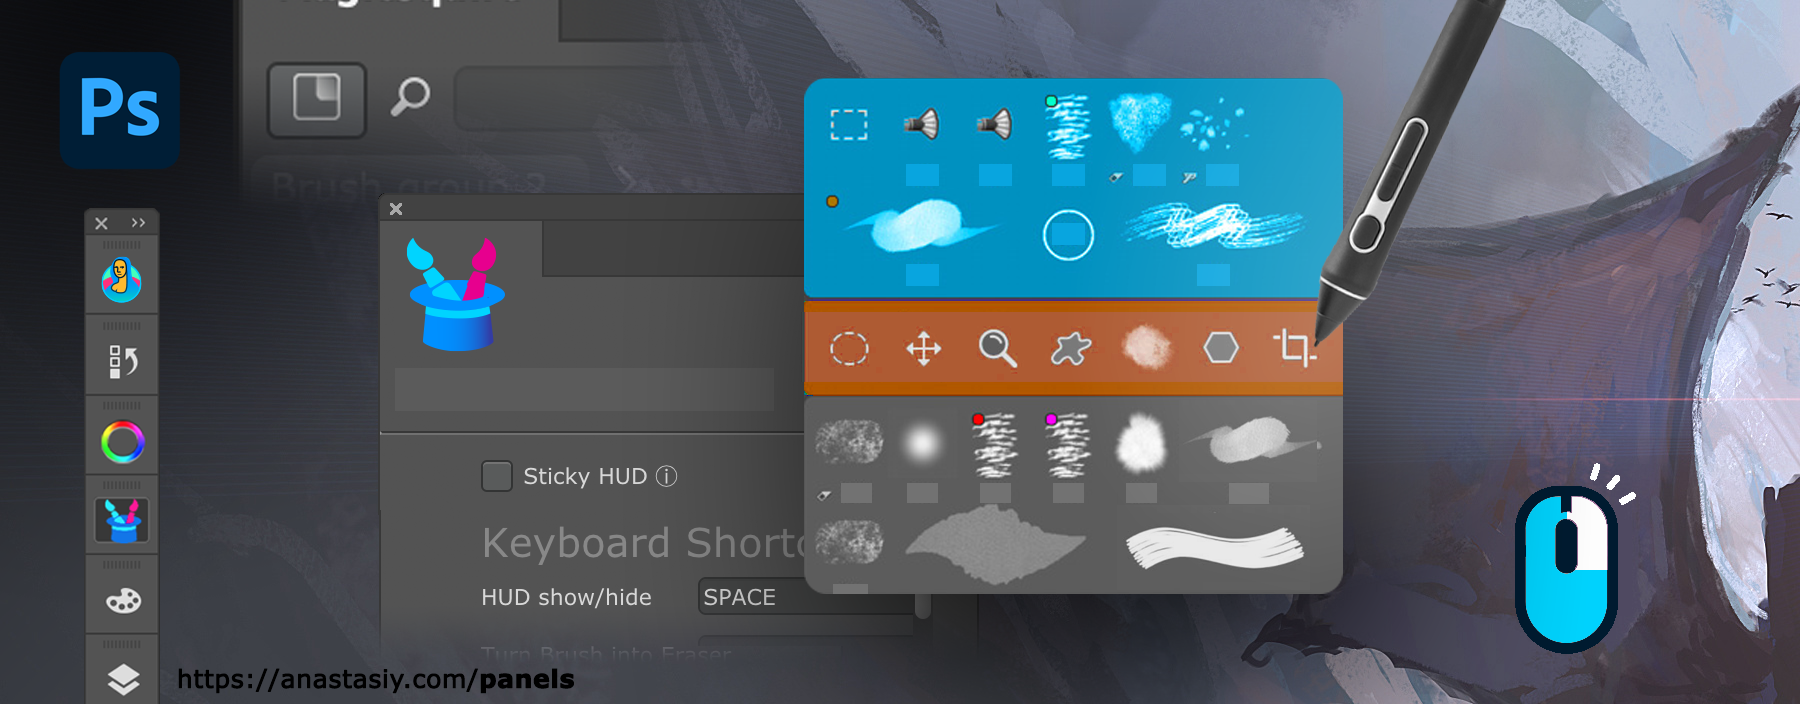
In HUD mode the Photoshop panel shows up under your cursor whenever you click a keyboard shortcut. (Or press the HUD button on the panel). button_HUD_light@2x Staying hidden when you don’t need it – saving your valuable screen real estate.

The HUD mode is new to MagicPicker 7 and MagicSquire 4.

Ways to activate Brush HUD popup under cursor in Photoshop
MagicSquire Brush Manager in HUD mode

All the features of the panels are available in this mode. Also if you experience problems with Wacom stylus in Photoshop then HUD will fix all those problems.

All power of MagicPicker color wheel, including color schemes, color tone lock, K-lock, various modes of the wheel are available in this mode. Unlike Photoshop’s native limited HUD the MagicPicker is fully featured.

MagicSquire also supports this mode, making all your brushes available under cursor.

You can also use it in “Sticky” mode when you press a button to show the HUD and release it to hide. You can also bind it to your stylus button.

Here are the ways to activate HUD.

From series of tutorials for MagicPicker, the pro Photoshop color wheel and MagicSquire, advanced Photoshop brush manager